
Franco Brutti

Learn how to program with Scratch without having to learn a programming language!
Learning to program can be difficult at the beginning, because not only do we have to familiarize ourselves with the basic principles of programming, but also with a language in which we have to execute these principles...
Scratch is an app designed precisely so that young people can learn to program in a simple way and without the need to handle a programming language.
But Scratch isn't only for children and teenagers, many adults can take advantage of it to learn the principles of programming without so many complications or headaches.
In fact, its graphics and interface are intended to make programming a fun and entertaining game.
That's why Scratch is used by many teachers to introduce children and teenagers to the world of programming.
Here is a step-by-step guide to learn how to program in Scratch!
What is Scratch?
Scratch is an app developed by the Lifelong Kindergarten Group team that belongs to MIT or Media Lab of Cambridge. The application is based on a programming language that goes by the same name.
Scratch has been around for many years, its first version was released in 2007 with its own development environment based on Squeak.
Currently, this application is based on HTML5 and Javascript, and can be used in most browsers. Also, it's possible to download it and install it on a computer on different operating systems.
The main purpose of Scratch is to get beginners to learn the most basic principles of programming without having to directly handle a programming language.
That's why Scratch is perfect for children and teenagers to learn to program as easily as possible. Thanks to its simple and intuitive interface, learning to program will be fun, exciting and encouraging.
An extra benefit of Scratch is that the most inexperienced will be able to develop their programming logic as if it were a game.
For these two reasons, many teachers often use this app to teach their students to program.
Special features of Scratch programming
Scratch is an app designed to teach programming in a simple way. So it's not necessary to learn any programming language or write code as such.
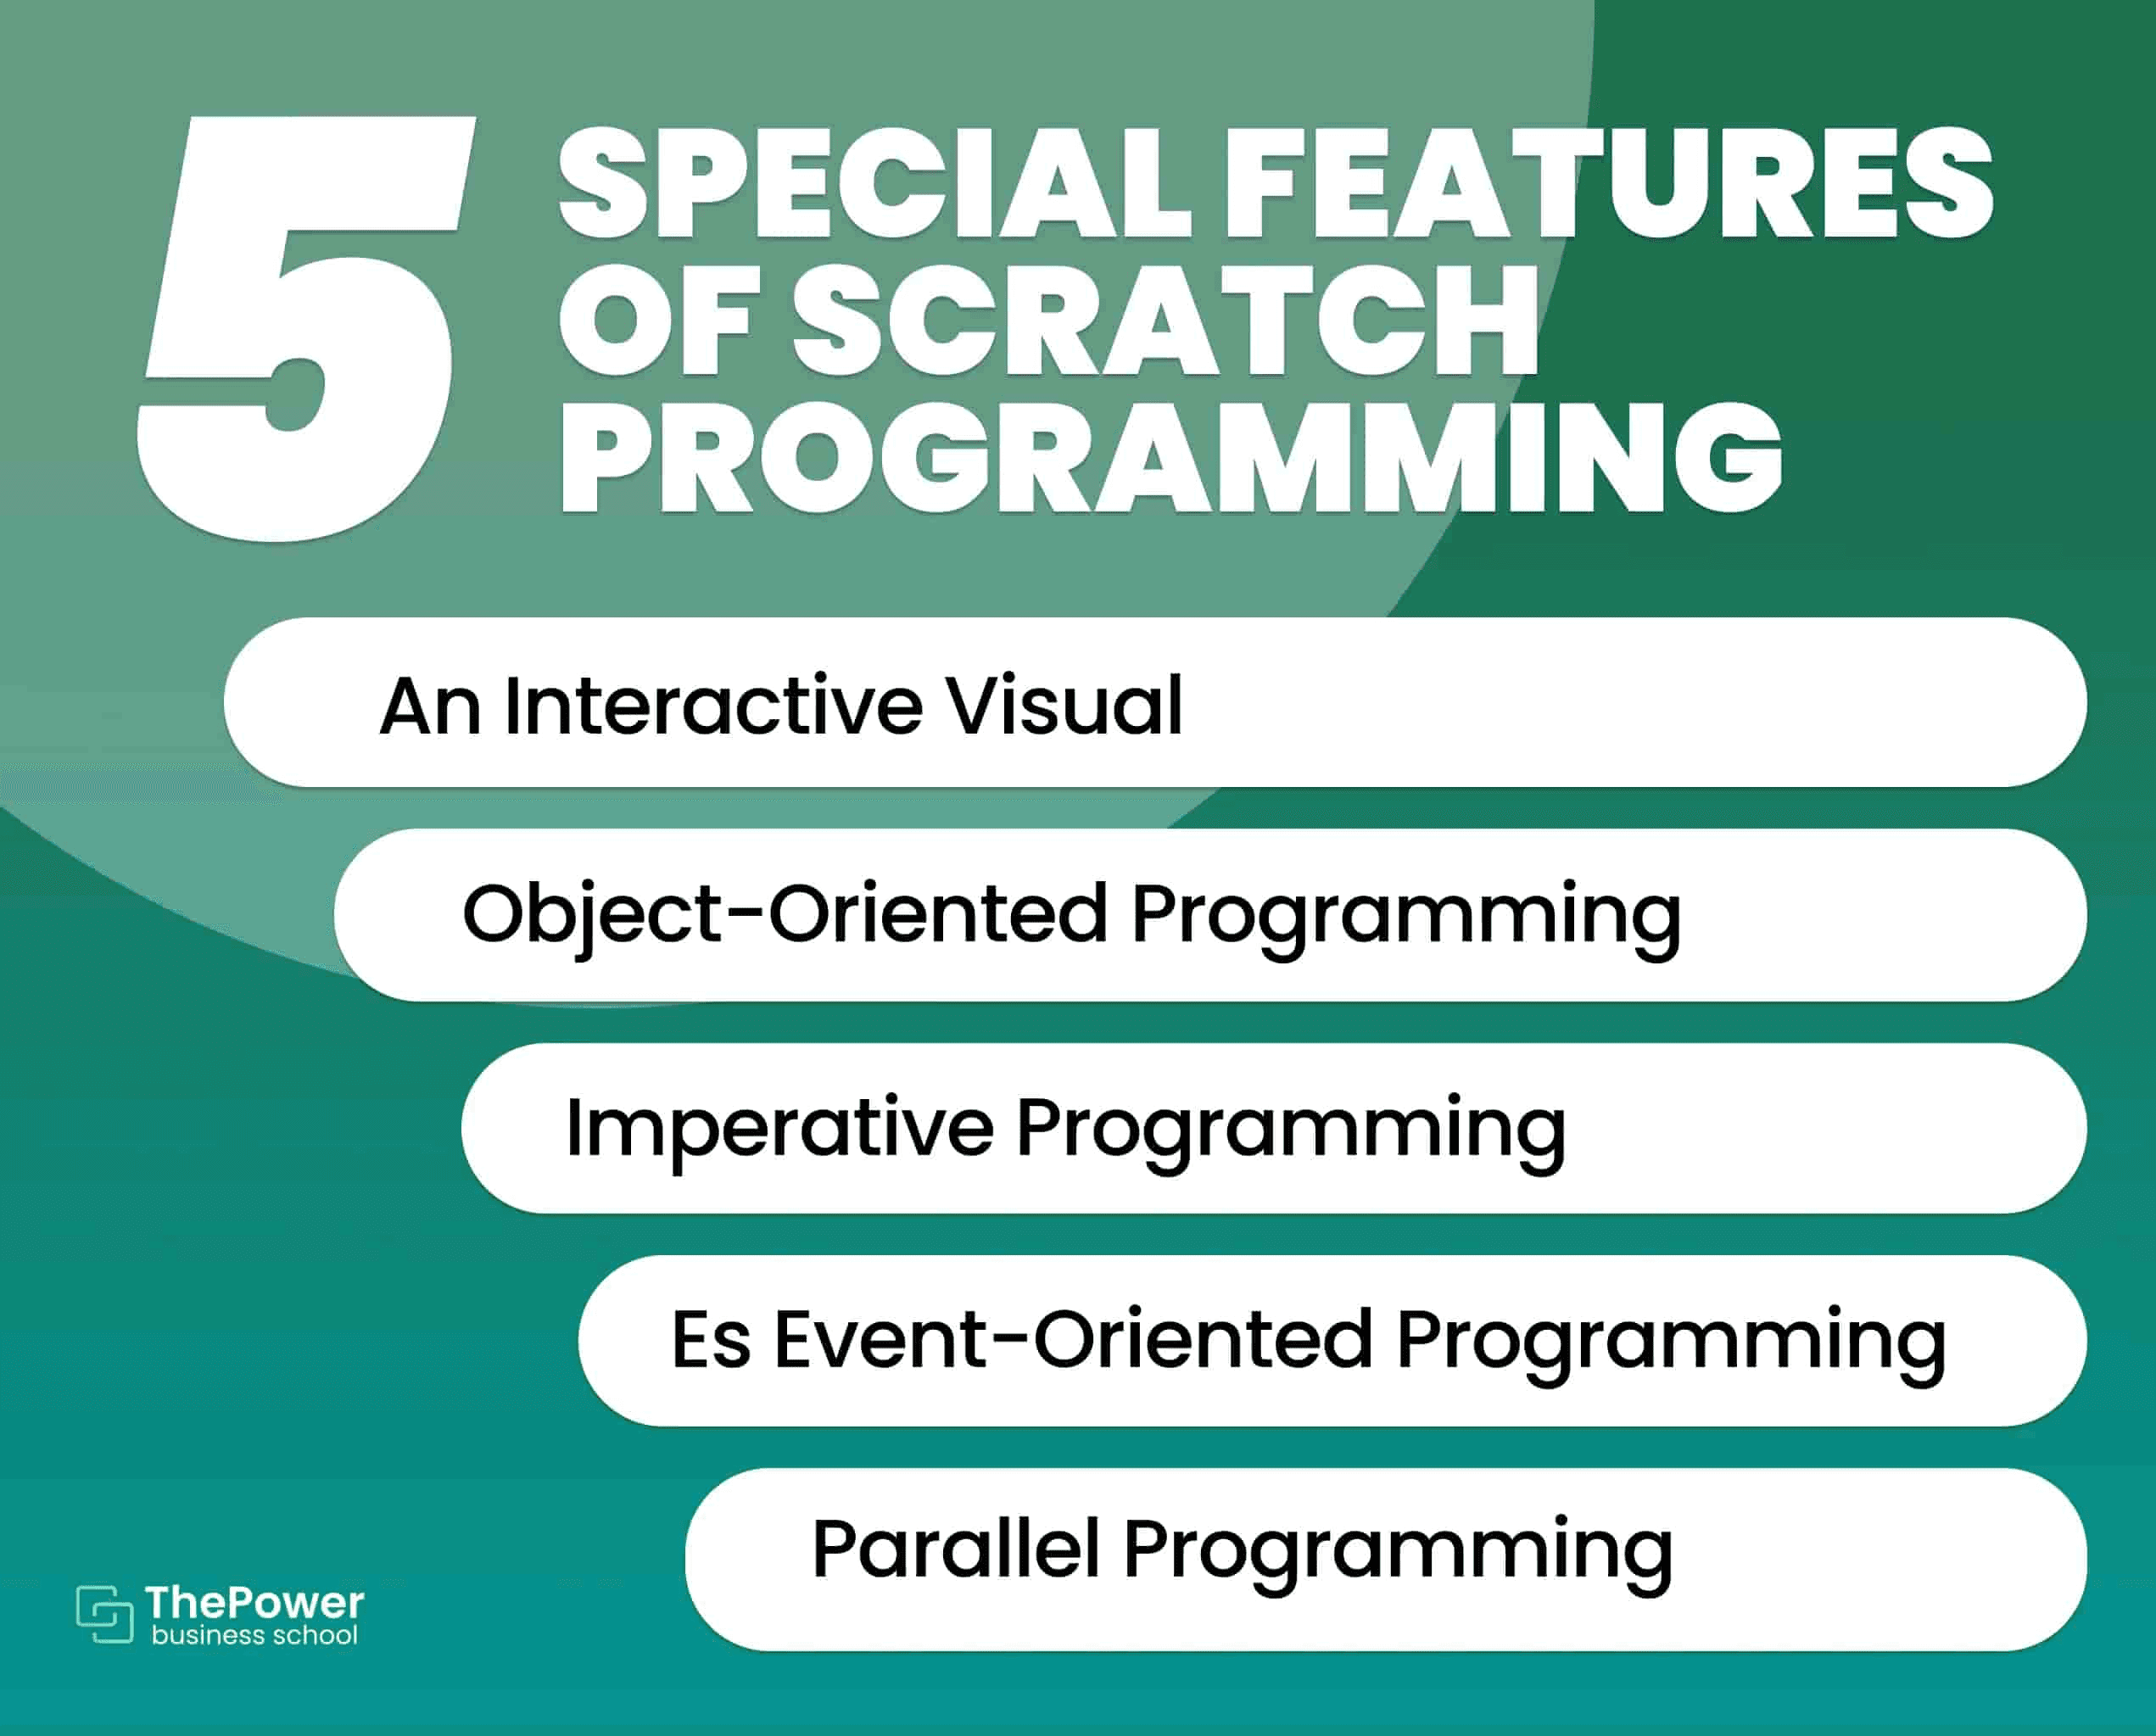
The whole Scratch application is based on a graphical interface. Through this graphical interface, it is very easy to learn traditional programming paradigms. Here are the most important features of Scratch programming:
1. An interactive visual
An interactive visual
All programming is carried out through the visual interface. The elements are represented graphically.
And we can interact with them to program in a simple way. For example, commands are assembled by dragging and dropping them wherever we want. Events, functions, characters... are chosen with a click.
2. Object-oriented programming
Scratch doesn't include classes or inheritance systems as it's common in object oriented programming.
However, it does allow us to encapsulate data and create objects with different types of data, something very basic in object-oriented programming.
3. Imperative programming
Scratch provides a number of scripts for programming following a sequence of commands. We will be able to determine the order in which some actions will be carried out.
4. Event-oriented programming
Scripts are only executed when the event defined in the block occurs. For example, "click" events will only be executed when you click on them.
5. Parallel programming
Our projects developed in Scratch can be divided into individual subcomponents, as is common in parallel programming.
Tutorial to program in Scratch
To be able to program in Scratch, you must familiarize yourself with all its interface, becoming a master in the handling of the application.
As you will see below, starting to program in Scratch is very simple. However, you have to learn how to use the platform. This applies to both students and those who want to teach children to program.
Here are the steps you need to follow to program in Scratch:
1. Sign up to Scratch
To create a project in Scratch, you don't need to create an account. In the top menu, you will find the "Create" option with which you can make as many projects as you want.
However, creating an account is necessary to save and share your projects with the entire Scratch community. This way, all members of the community will be able to give feedback on the project and the student will feel encouraged.
To sign up, click on "Join Scratch" in the top menu. A window like the one below will appear:
Create the username and a password with which you will log in to your Scratch account in the future. Then the platform will ask you for other information such as your country, your date of birth and your email address. The last step is confirming your email address. And that's it, you are now on the platform.
There's also an option for teachers. This profile is designed for users who use Scratch for educational purposes. It allows you to organize classes and manage individual student accounts.
2. Familiarize yourself with the Scratch platform
The next step is to familiarize yourself with the platform in general. On the right side, you will see your username with which you logged in. When you click on it, a menu will pop up with several options to:
View your profile information.
View all your projects.
Set up your account.
On the side, we will find a file icon and a messaging icon. From the file icon we will be able to access our projects directly. And the messaging icon is to see our notifications.
On the left side, we will find a menu with four options. Let's see each one of them:
Create: every time you want to create a new project, this is the option you should choose. This option gives you access to the Scratch editor.
Explore: the explore option allows you to explore other users' projects. This way, we will be able to reproduce them and play with them. But that's not all because it will also allow us to see the code of that project to analyze it and learn from it.
Ideas: the ideas section offers manuals, tutorials and other inspirational projects. With this section, we will be able to learn how to make more complex projects in Scratch.
About: here you will find general information about Scratch. This section is useful for parents and teachers. They answer frequently asked questions and offer resources.
3. Get to know the Scratch programming editor
All of Scratch's magic lies in its editor. By selecting "Create", we will be sent to a screen like this one:
On the left side, we find all the options for programming, creating our characters and adding the sound.
In the middle is the editor in which we will add the code. And towards the right side we will find the visualization of our development, where we will be able to configure the way in which we visualize it.
The most important thing is in the section on the left. Here we find three tabs:
Code: in Code you will find all the scripts that you can add to your project.
Costumes: here we can create and design our characters and environments.
Sounds: this tab allows us to add sounds to the project.
Each of these features can be added to the project through the blocks that are linked to each other.
4. Create your own characters and objects
Characters and objects are fundamental for the project you are going to create in Scratch. These are the ones that will give video to the video game, animation or comic that you are going to create.
The "Costumes" tab offers a wide variety of graphics from the Scratch gallery. But you can also import your own photos or designs. It will even allow you to upload a photo if your device has a camera.
At the bottom right, you will find two buttons:
Choose an object: you can choose between objects, animals, characters, fantasy, dances, and many other things. The idea is that you choose the characters and objects you want to create your story. You can choose a character from the gallery or upload your own designs.
Choose a background: as in the previous option, you can choose from the Scratch gallery or choose your own images.
The character will be included in the project once you've added it in the order in which you select it. Each character can be modified individually in "Costumes". You can change their color, shape and design. Each character has variants to create the feeling of movement.
Another important thing is that you can also define the name of the costume in this tab. This way, you will be able to call them later with the scripts.
Once you have the characters you want to include in the project it is time to bring them to life through programming.
5. Learn Scratch scripts
Programming in Scratch is done through the scripts that you will find in the "Code" tab. These scripts are executed when you connect them to the blocks you have already designed in the project.
It's as easy as choosing the script and dragging it to the block where you want it to run. By combining the scripts, we can bring our characters to life.
The code tab offers 9 options. Let's see each one briefly:
Motion: this option allows us to add movement to objects. We will be able to make them rotate, move, shift in some direction or stay in one spot.
Looks: this is the tab we will have to use if we want to add a dialog or thought to a character. It is also used to change the appearance of an object when an event is executed.
Sound: this option allows us to control the sound we've added through programming. For example, when a sound starts and ends, the volume, etc.
Events: they work in the same way as in programming. They are signals that indicate the scripts when they should be executed.
Control: they correspond to the control structures in programming. With this option we will be able to place conditions to execute the scripts. For example, the cat will greet 2 seconds after the bear has greeted it.
Sensing: as the name indicates, it allows us to evaluate what is happening in the project. And execute an action when a condition is met.
Operators: here we will be able to perform different types of mathematical operations to execute the scripts. This will be very useful if we are creating a video game. When the player reaches a certain amount of points, he will receive an improvement or a reward.
Variables: as in programming, we will be able to save information in the variables that will be useful in the project.
My Blocks: we can create our own customized blocks.
6. Add music and background
Scratch allows us to make projects that are very similar to real projects. And in any video game, animation or video the background music has a special role.
Sounds work in much the same way as characters. In the "Sounds" tab we will add all the sounds we want to our animation.
At the bottom left, we will find a button to choose from the gallery or import our own sounds.
We will also find a timeline where we can modify the sound. The speed and the volume, the graduation of the sound when it appears and disappears, etc. You can even cut the section of the sound you are interested in.
You can use the sound as background or as a response to a user interaction.
7. Publish your project in Scratch
Finally, name your project and select the "Share" button at the top. At this point, you will be able to change the name of the project, add instructions for other Scratch users, and give credit to the people who helped you with the project.
Fictitious example of a Scratch project
Let's put into practice what we've seen so far. We will take the cat that appears by default in Scratch. And we will add the background we want. We've chosen the city background.
We will try to make the cat walk all over the city. Each character has several versions that create an animation. The cat has two versions that create the feeling of movement.
To achieve this, we will use 4 scripts:
Events: when pressing the key(right arrow).
Control: wait (0.05 seconds).
Looks: next costume.
Movement: 10 steps.
With these scripts, we will make the cat move when we press the right arrow key. And that's it! We already have our first project created in Scratch.
Learn to program with ease in Scratch!
With Scratch you can learn the basics of programming. It's an excellent application to develop programming logic and to get started in this world.
However, it's necessary to learn how to use the application well to get the most out of it.
Especially if you want to use Scratch to teach children to program. The better ypu understand the platform, the easier it will be for children to understand the instructions.
Scratch can be used by anyone who wants to learn to program. But its focus is on children and teenagers.
In fact, its colors and graphics have a childish tone with a view to this purpose!
Have you already taken your first steps in programming with Scratch? We want to read what your experience has been like, as always, we encourage you to leave your opinion in the comments.


Jun 26, 2023

